Manage users in Micrio Premium account
INFO
This feature is available for Premium subscription accounts and above, which allow for multiple users in the dashboard.
If your Micrio account supports multiple users, and you are a group administrator, you will see a "Settings" tab at the top of the dashboard. If you click that, you will go to the group settings page.
TIP
Don't you see the tab while you think you should? Contact us with your details and we will help you further.
User and settings
On the left side of the screen, you see the list of users who currently have access to your group.
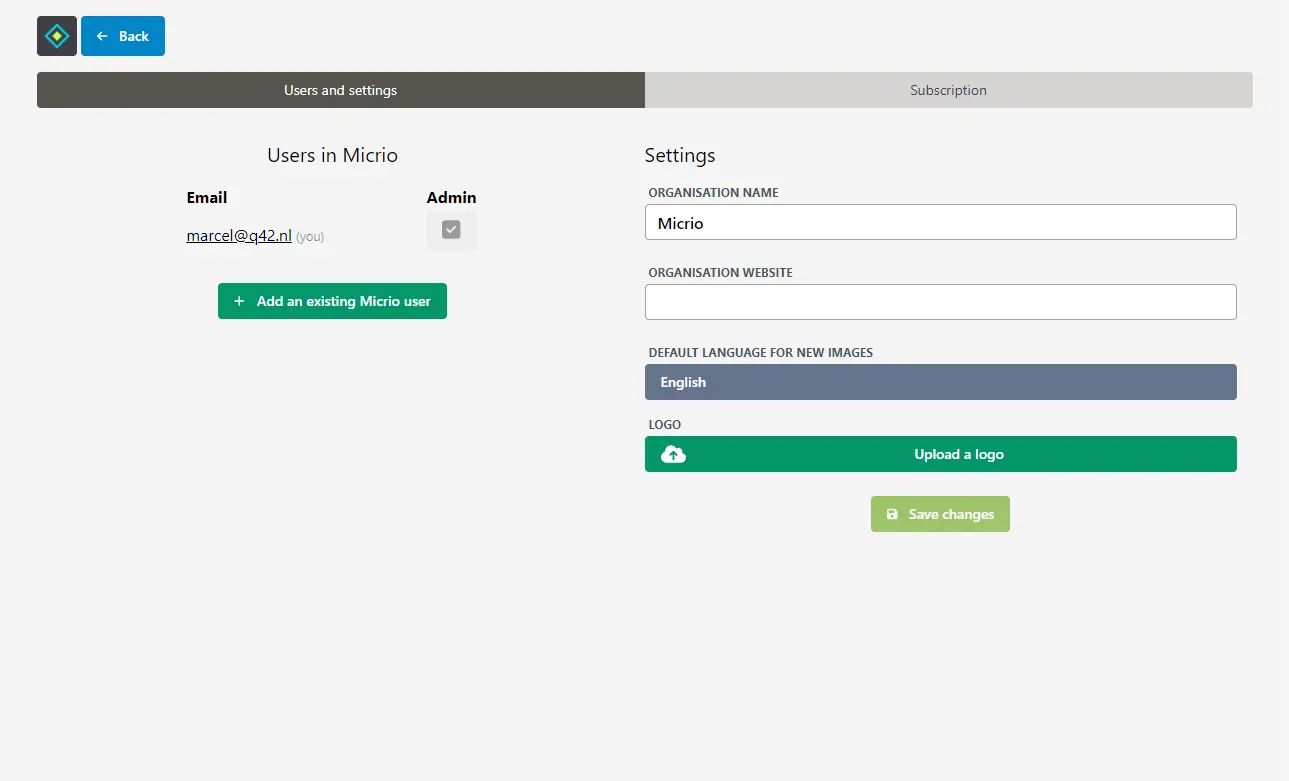
You can add users to your group using the "Add an existing Micrio user" button.
WARNING
You can only add existing Micrio users. If you need to add someone new, ask them to create their own Micrio account, first.
You can promote them to users administrator, so they will have the same managing functions as you do, by toggling the "Admin" checkbox
You can remove someone from the group (not yourself) by using the red button with the trash can.
Group settings
On the right side of the screen, you can set several group settings:
- The group name, which will reflect in the dashboard itself
- Your organisation's website URL, which, if you have also uploaded a logo, your logo will link to when people view your images using the native Micrio viewer (
viewer.micr.io) - You can upload a logo, which will be displayed on the native Micrio viewer URL (
viewer.micr.io) for your own images
API keys Enterprise
INFO
The API keys panel only appears when external API access has been enabled for your organisation. If you don't see it but need it, contact us.
When external API access is enabled, group administrators see an API keys section below the group settings. This is where you create and manage the keys used to authenticate against the Micrio Server API.
You can have multiple API keys per organisation, which makes it easier to:
- hand out a dedicated key per integration or environment (CMS, DAM, staging, production, etc.);
- rotate a key without breaking other integrations;
- set an explicit ending date so the key automatically stops working after that date;
- revoke a single key immediately if it leaks, without affecting other integrations.
Creating an API key
- Click Create API key.
- Give the key a clear name (e.g. "Internal CMS - production").
- Optionally pick an ending date. After this date the key will stop authenticating.
- Click OK. The dashboard will display the plaintext key once. Copy it and store it in a secret manager — Micrio only stores a hash, so we cannot show it again later.
Managing existing keys
The list shows, for every key:
- the name you gave it,
- its creation date,
- its end date (if any),
- its last-used date (updated automatically when the key successfully authenticates).
Use Revoke to immediately disable a key. Revoked or expired keys remain in the list as a record but can no longer be used to authenticate.
Legacy keys
If your organisation already had an API key before multi-key support was added, that key has been migrated automatically and appears in the list with a small (legacy) label. It keeps working unchanged. We recommend creating a new key per integration and revoking the legacy one once you've rolled the new keys out.
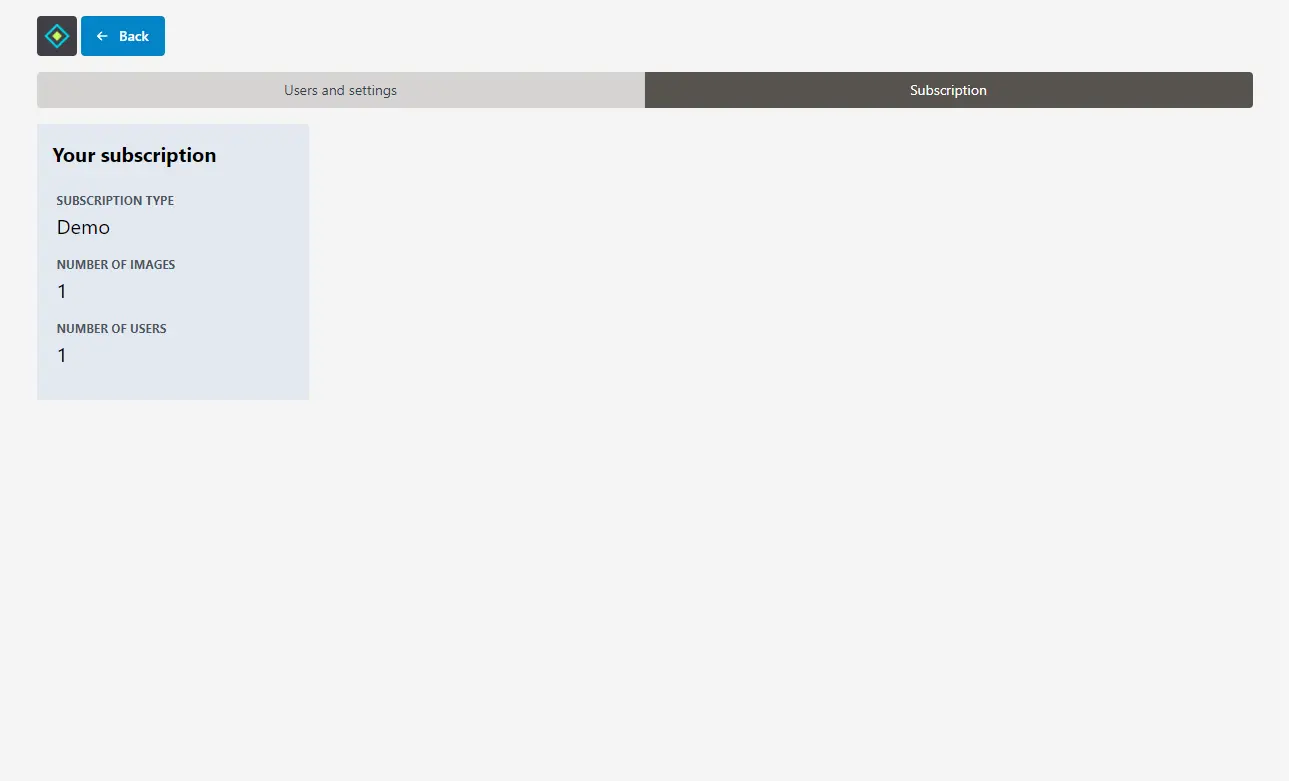
Your subscription
By opening the "Subscription" tab, you will see more information about your current active Micrio subscription, and it allows you to make changes to it.
INFO
Only when you have a Micrio account linked with our payment provider Stripe, you can adjust your subscription yourself. If you have a custom subscription with us, please contact us.